Create your account and business
Sign up with your email in a minute, name your business and pick the modules you need. No password and no card required to start.
Updated on
Your Ha Tang account is created the first time you sign in, and your first business right after. It takes about a minute.
Create your account
- Go to app.hatang.dev. The page says Sign in to hatang.dev; there is no separate sign-up page.
- Type your work Email and click Continue with email.
- Copy the 6-digit code from the email Ha Tang sends you, type it and click Sign in.
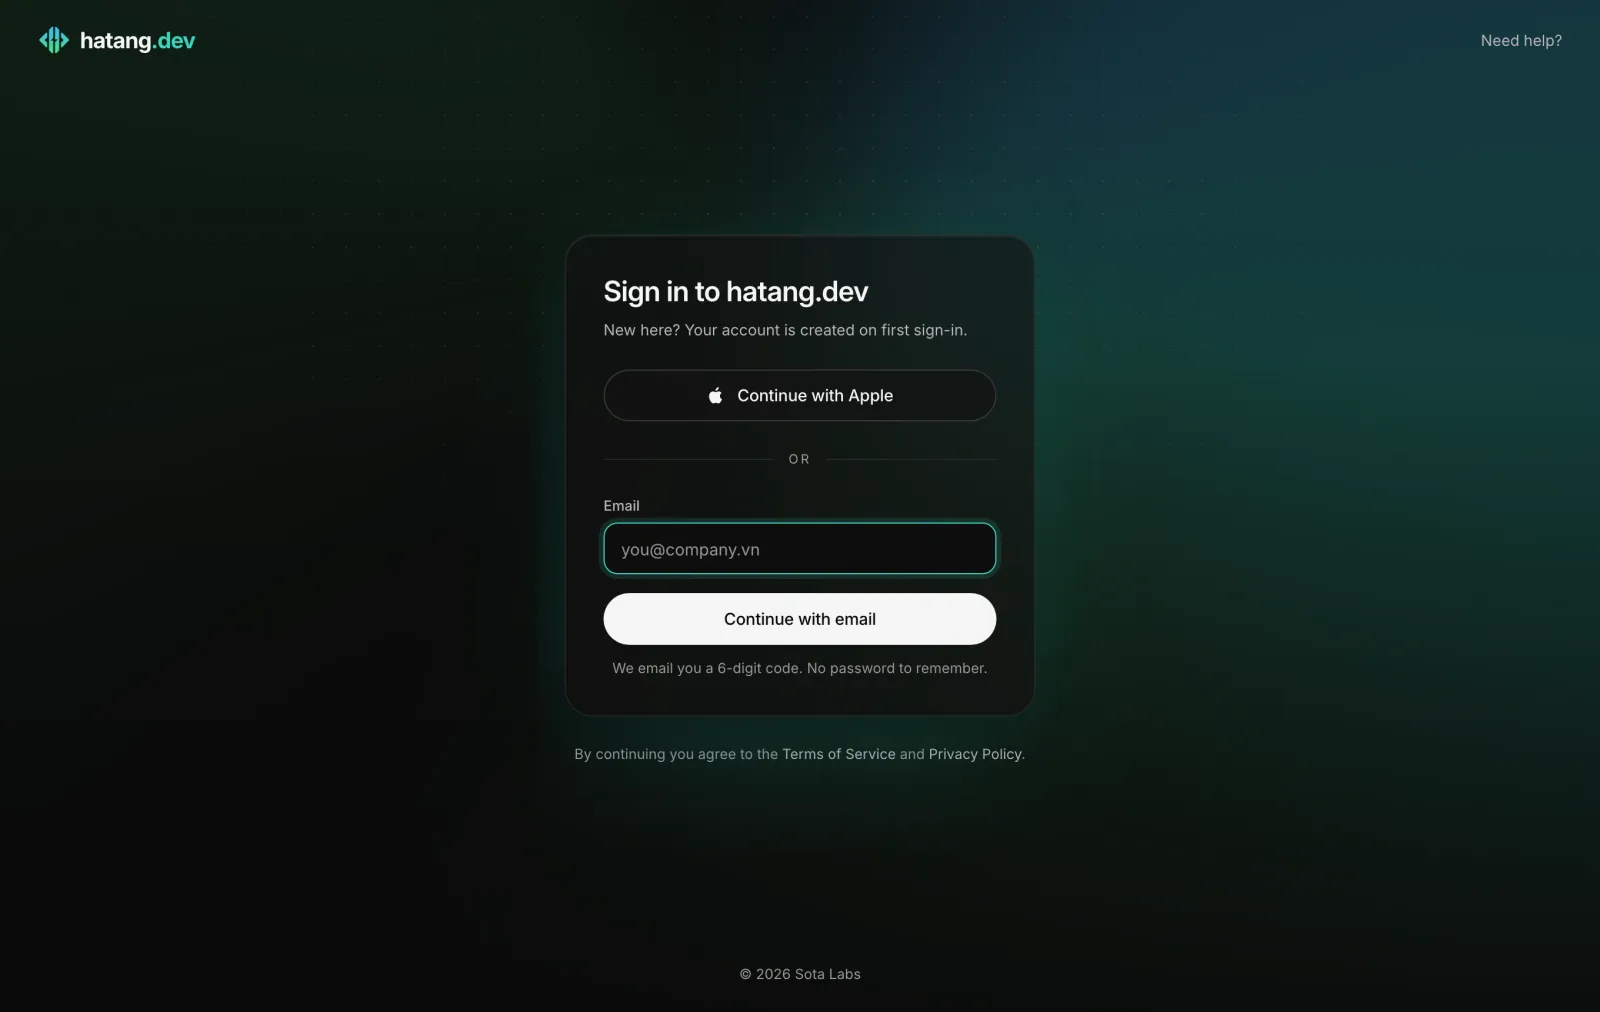
You can also click Continue with Apple, Continue with Google or Continue with GitHub when the page shows them. The code is valid for 10 minutes; if it does not arrive, see Sign in and sign out.
Set up your business
After your first sign-in, Ha Tang shows Set up your business.
- Under Business, type the name of your shop or company, for example
Mộc Hương Tea. - Under Modules, tick what you need. Customer Support and Email are ticked to start; also tick Payments, Products or CRM if you will use them.
- Click Continue.
You are the business's owner. The dashboard opens on the first module you ticked, for example the Customer Support inbox. If you ticked none, it opens Business settings, where you can turn modules on later.
Not sure which modules to pick? Start small. Modules can be turned on and off at any time without losing data (Turn modules on and off).
What to do next
| Goal | Start here |
|---|---|
| Answer customers from Zalo, Facebook or your website in one inbox | First steps with Customer Support |
| Send email from your own domain | First steps with Email |
| Take payments by bank transfer | First steps with Payments |
| Bring in your team | Invite employees |
| Answer customers from your phone | Ha Tang apps for phone and Mac |
Good to know
- One account, several businesses. To run another shop with separate data and staff, create a second business from the business menu (Work in several businesses).
- Use a mailbox you keep. Your email address is your account and is how you sign in. A shared address such as
info@makes it impossible to tell who did what; give each person their own account instead. - The iPhone and Mac apps do not create businesses. Create your business in the browser first, then sign in to the app.
Useful next steps
Was this article helpful?
Related articles
- Sign in and sign outHa Tang has no passwords. Sign in with a 6-digit code sent to your email, or with Apple, Google or GitHub.
- Turn modules on and offChoose which parts of Ha Tang your business uses. A module that is off disappears for everyone, and its data is kept until you turn it back on.
- Invite employeesAdd your staff to the business by email, choose their role and access, and manage invitations that are still waiting.
Not finding what you are looking for?
Our team answers in the chat, in English or Vietnamese.